Unboxing Your Tevo Tarantula
Embarking on the journey of 3D printing with the Tevo Tarantula is an exciting endeavor. The first step, of course, is unboxing your new machine. Carefully inspect the contents of the box to ensure everything is present and accounted for. This step is crucial to avoid any surprises during the assembly process. The Tevo Tarantula typically ships with various components, including the frame, the heated bed, the control board, stepper motors, endstops, and all the necessary hardware. Taking inventory now will save you time and potential frustration later. Place all components on a clean, well-lit surface, ready for the next stages of assembly, and check the packaging to ensure that you have everything.
What’s in the Box
The Tevo Tarantula comes with a collection of components that make up the 3D printer. This includes the frame, which provides the structural support for the printer; the heated bed, where your prints will adhere; the control board, the brains of the operation, managing all the printer’s functions; stepper motors, which drive the movement of the axes; endstops, sensors that define the boundaries of movement; and the hotend, which heats and extrudes the filament. Hardware such as screws, nuts, and bolts is also included to connect the parts. Check the packing list that comes with the printer to ensure that all components are there. Taking stock of what you have can help you prepare for the tasks ahead.
Tools You’ll Need

While assembling the Tevo Tarantula, having the correct tools on hand is essential. You will typically need a set of hex keys (Allen wrenches) of various sizes, a screwdriver (both Phillips and flathead), pliers, and a wire cutter/stripper. It is advisable to have a good pair of side cutters for tidying up any loose wiring. A multimeter can be helpful for checking electrical connections and troubleshooting. Also, having a level and a ruler or measuring tape can be helpful for making sure everything is aligned. You may also require zip ties to manage your cables. Ensure that your workspace is well-lit and organized.
Preparing the Frame
Before you dive into assembling the Tevo Tarantula, prepare the frame, which is the foundation of your printer. This typically involves attaching the various frame components to create a stable structure. Usually, you start with the base frame, which supports the heated bed and the moving parts. It’s important to tighten all screws securely but not overtighten, as this could damage the frame. Ensure the frame is square by measuring diagonally from corner to corner and making any necessary adjustments. This step is critical because it affects the printer’s overall precision and stability. A properly prepared frame will minimize any potential problems.
Attaching the Base Frame
The base frame is the foundation upon which the rest of the printer is built. You will typically attach the vertical supports to the base using screws and brackets. Make sure that all corners are square and the frame is rigid. This stability is essential for precise printing. Carefully align the components before tightening the screws. It’s often a good idea to lightly tighten all the screws first before going back and tightening them completely. Use a level to verify that the frame is level. Any inconsistencies at this stage will make the subsequent steps difficult.
Connecting the Z-Axis Motors

The Z-axis motors control the vertical movement of the print head. Attach these motors to the frame, making sure they are aligned with the threaded rods. These rods are crucial for precise vertical movement. The Z-axis motors often have couplers that connect to the threaded rods, and these couplers should be securely fastened. Also, ensure that the motor shafts are parallel to the threaded rods. This alignment is necessary to prevent binding during the printing process. Securely fasten the motors and their associated components to prevent vibrations.
Assembling the X and Y Axes
The X and Y axes are responsible for the horizontal movement of the print head. The X-axis moves the hotend left and right, while the Y-axis moves the bed forward and backward. Assembling these axes requires careful attention to detail to ensure smooth and precise movement. This involves attaching the appropriate components, such as the linear bearings, belts, and pulleys, and ensuring proper alignment. Make sure that the belts are taut but not overly tight, as this can cause premature wear and tear on the printer.
Building the X-Axis
The X-axis assembly involves attaching the print head carriage to the linear rails or rods. Install the linear bearings and the belt pulleys, and attach the belt. Ensure that the belt is properly tensioned. Attach the hotend mount to the carriage, which will eventually house the hotend. Take the time to ensure that the linear bearings move smoothly along their rails or rods. The X-axis should move freely without any binding or excessive resistance. This smoothness is critical for printing quality. Careful alignment and proper tensioning are key to preventing printing errors.
Attaching the Y-Axis

The Y-axis is the platform that holds the heated bed, moving back and forth. Attach the Y-axis carriage to the frame using linear bearings or wheels. Make sure that the bed moves smoothly without wobbling. Attach the belt and tension it properly, as this affects the accuracy of the prints. Ensure the belt is properly aligned. Align the endstop switch for the Y-axis; this is what the printer uses to determine the zero position for the Y movement. Ensure that the bed moves freely and that the alignment is correct, because this impacts the quality of your printed objects.
Installing the Hotend and Extruder
The hotend melts the filament and extrudes it onto the print bed, while the extruder feeds the filament into the hotend. Installing these components correctly is vital for achieving high-quality prints. This process requires precision and attention to detail. Make sure that the hotend is properly secured to the X-axis carriage and that the extruder is securely attached to the frame. Also, ensure that the nozzle is aligned with the print bed, because this impacts the first layer of your print, which is essential for success.
Mounting the Hotend
Carefully mount the hotend assembly to the X-axis carriage. Ensure it is securely attached and aligned. The hotend usually consists of a heater block, a nozzle, and a heat sink. Be careful not to overtighten any screws, as this can damage the threads or the components. The nozzle must be at the right height from the print bed during the first print layer. The hotend must be properly aligned to ensure smooth extrusion of the filament. At this stage, it is also wise to ensure that the thermistor is properly connected, which monitors the hotend’s temperature. Remember to insert the nozzle correctly to prevent filament leakage.
Assembling the Extruder

The extruder is responsible for pushing the filament into the hotend. Assemble the extruder components, including the motor, the drive gear, and any idler bearings. Securely mount the extruder to the printer frame. Make sure that the drive gear aligns properly with the filament path and that the filament can be fed smoothly. Test the extruder by manually feeding filament through it. Also, be certain the extruder has enough grip on the filament to push it through the hotend. The extruder’s consistent feed rate directly affects the quality of your prints. If you are using a Bowden setup, attach the Bowden tube to both the extruder and the hotend securely, so there are no gaps or leaks.
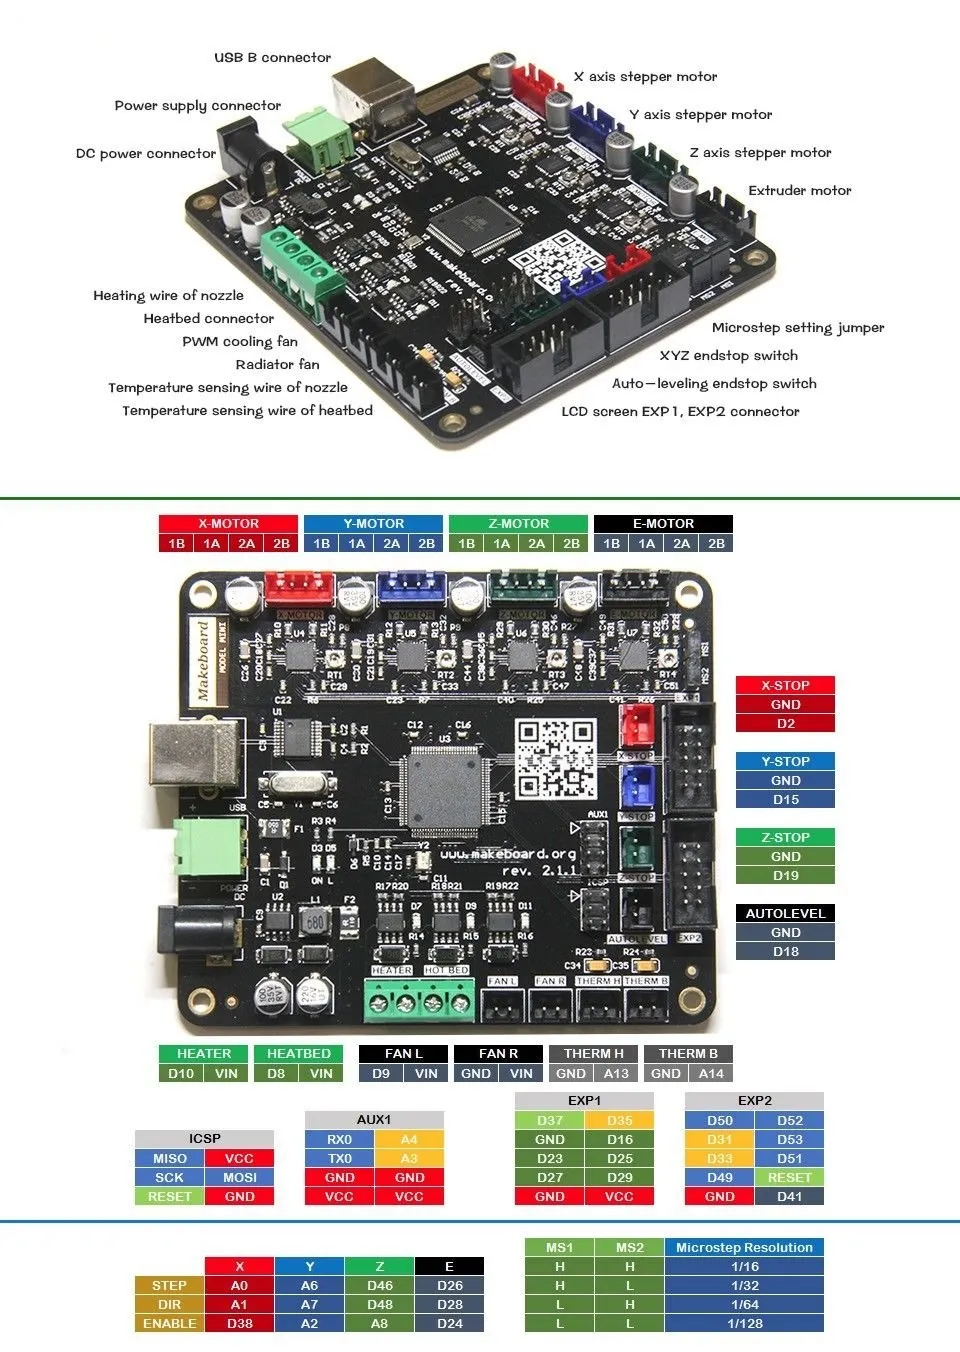
Wiring and Electronics
The wiring and electronics are the backbone of your Tevo Tarantula, connecting all the components and allowing them to communicate. This includes connecting the stepper motors, endstops, and the heated bed. Following the wiring diagrams provided with your printer is very important. Make sure all connections are secure and that the wires are neatly routed. Be careful when working with electricity. Improper wiring can damage your printer or, even worse, cause injury. Double-check every connection to ensure proper functionality.
Connecting the Stepper Motors
Connect the stepper motors to the control board. Match the motor wires to the corresponding terminals on the control board. Carefully insert the connectors to prevent bending pins or improper connections. Ensuring the correct wiring of the stepper motors ensures that the printer will move in the right directions. If any motors are moving in reverse, you can often fix this by switching the wires on the connector. Check the wiring diagrams carefully to make sure you are matching the wires to the correct terminals. When the motors are wired correctly, they will respond to commands.
Wiring the Endstops

Endstops are limit switches that tell the printer when it has reached the end of its travel. Install and wire the endstops for the X, Y, and Z axes. These switches are essential for homing and defining the print area. Connect the endstop wires to the control board. Make sure the endstops are positioned correctly so they activate when the axes reach their limits. Adjust the endstop placement to ensure that the nozzle and the bed do not collide and that the printer will home correctly. Without properly wired endstops, your printer won’t know its position, which can lead to print failures.
Power Supply and Control Board Connections
Connect the power supply to the control board and the heated bed. Make sure you have the correct voltage setting on the power supply, usually 110V or 220V, depending on your region. Use the correct gauge wire to connect to the power supply. Carefully route the wires. Ensure the power connections are secure and the power supply is safely enclosed. Connect the control board to the heated bed, and make sure you check the correct polarity. Never connect or disconnect the power supply without turning off the power. Double-check all your electrical connections to ensure safety and prevent short circuits. Remember, safety is paramount.
Bed Leveling and Calibration
Bed leveling and calibration are critical steps for achieving high-quality prints. Bed leveling ensures the first layer of your print adheres properly to the print bed, while calibration ensures that the printer extrudes the correct amount of filament. Leveling and calibration are essential for a successful printing experience. It is possible to adjust the bed height, adjust the extruder, and configure the printer’s settings. These adjustments ensure the nozzle is at the correct height above the bed. Incorrect settings can result in prints that are either detached from the bed or that do not extrude properly.
Leveling the Bed

Leveling the bed ensures a consistent distance between the nozzle and the print bed across the entire surface. Manual bed leveling usually involves adjusting the bed height using screws or knobs located at the corners of the bed. Move the print head to each corner and adjust the bed height until the nozzle is the correct distance from the bed. Use a piece of paper or a feeler gauge to check the distance. The nozzle should slightly grip the paper without being too tight. Repeat this process until the bed is level. Auto-leveling systems will use sensors to determine the bed’s surface and adjust the Z-height to compensate. Bed leveling is often the most important step for achieving good prints.
Calibrating the Extruder
Calibrating the extruder ensures that the printer extrudes the correct amount of filament. This involves calculating the steps per millimeter (steps/mm) for the extruder motor. You can often find the stock steps/mm value in the printer’s firmware. However, you must calibrate the extruder, so it is accurate. To do this, you can mark a point on the filament and tell the printer to extrude a specific length. Measure the actual length extruded and adjust the steps/mm value accordingly. The correct steps/mm setting ensures your prints have the right dimensions and that you are using the right amount of material. Recalibrate if you change the hotend or extruder setup.
First Print and Troubleshooting
After assembling your Tevo Tarantula and completing the calibration steps, you’re ready to print your first object. This is a great opportunity to test all the systems and see if everything works as expected. A good first print is usually a simple calibration cube. Follow the instructions in your 3D printing software to load a model. Starting your first print is an exciting milestone. You can use a pre-sliced G-code file. Watch the first layer of your print to ensure it sticks to the bed. Troubleshooting any issues that arise is a key part of the learning process.
Loading Filament
Load the filament into the extruder. Depending on your printer’s setup, you might need to preheat the hotend. Feed the filament through the extruder and into the hotend until it starts to extrude. Ensure the filament feeds smoothly without binding. Sometimes, you can manually push the filament through. Correct loading ensures you have the filament ready to print. Different types of filament have different extrusion temperatures. Refer to your filament manufacturer’s recommendations. Loading the filament properly ensures the material will flow correctly.
Starting Your First Print
Load a 3D model into your slicing software and generate the G-code. Then, transfer the G-code to the printer via an SD card or USB. Select the file on the printer and start the print. Observe the first layer, as this often reveals if the bed is leveled correctly and if the nozzle height is properly adjusted. If the first layer is not adhering to the bed, adjust the bed level and nozzle height and try again. Pay close attention to the first few layers to ensure they are sticking properly. The first print usually takes some adjustments, so be patient. Ensure that the filament adheres to the bed to prevent print failure.
Troubleshooting Common Issues
During your initial prints, you might encounter some common issues. Common issues include the print not sticking to the bed, the nozzle clogging, or the printer’s axes not moving correctly. If your print doesn’t stick to the bed, check the bed leveling and the nozzle height. If the nozzle is clogged, you might need to clean it or replace it. If the axes aren’t moving correctly, check the wiring and the stepper motor drivers. Do not be afraid to refer to online resources. Use online forums and communities to troubleshoot. With a little patience, you can solve these issues and start producing excellent 3D prints. Proper troubleshooting will enable you to correct the problems efficiently and improve your printing experience. Try to learn from the mistakes that you find.