The Hexbug Tarantula is a fascinating robotic toy that brings the creepy-crawly world to life. But before you can enjoy its realistic movements and impressive design, you’ll need to assemble it. This easy guide will walk you through the simple steps, ensuring you have your Hexbug Tarantula up and running in no time. Get ready for some robotic fun!
What You’ll Need for Hexbug Tarantula Assembly
Before you begin, gather all the necessary items to make the assembly process smooth and efficient. Having everything ready beforehand will save you time and frustration. You’ll find that the assembly is designed to be straightforward, but preparing your workspace is always a good idea. The following list ensures you’re well-equipped to start building your robotic spider.
Unboxing Your Hexbug Tarantula
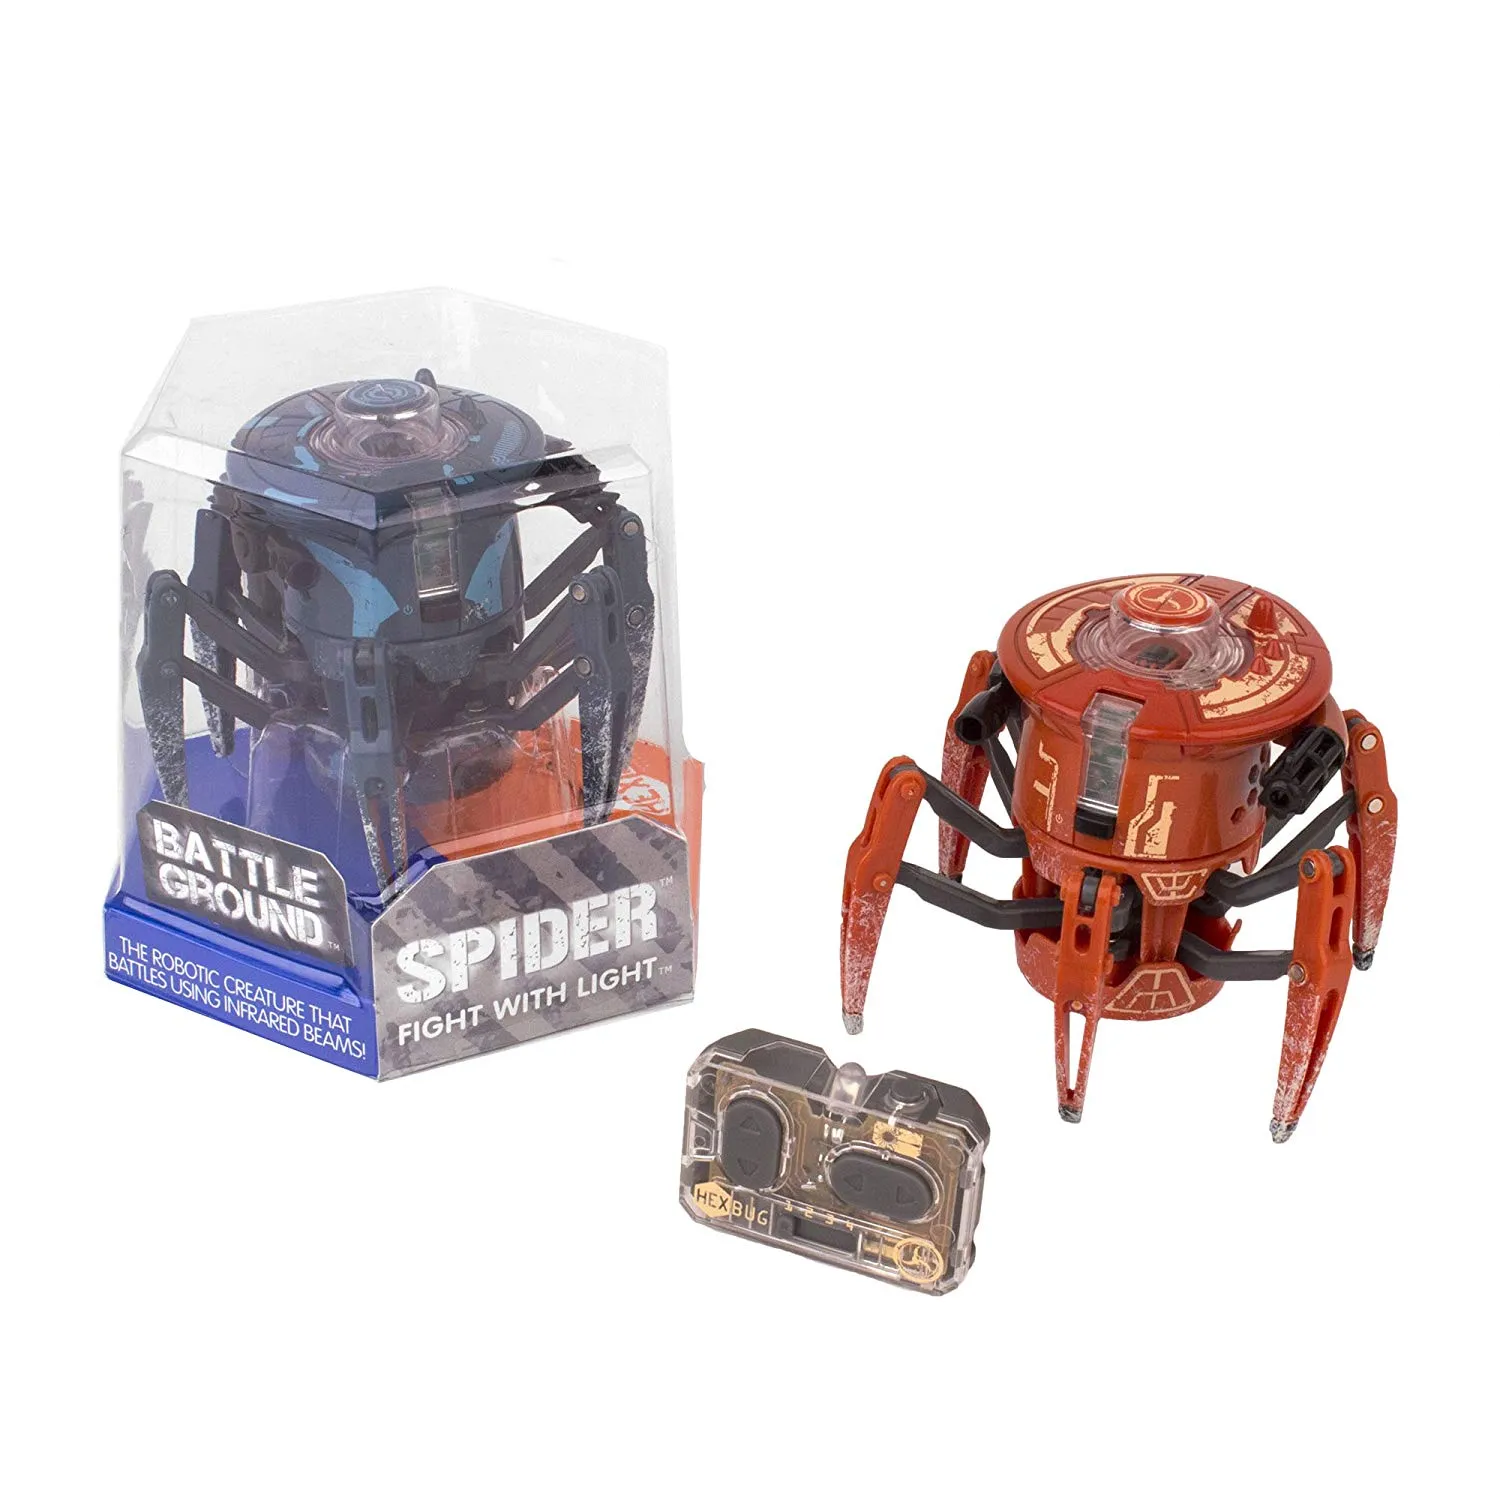
Carefully unpack the Hexbug Tarantula from its box. Remove all the components and place them on a clean surface. Take a moment to familiarize yourself with the contents, making sure you have everything that’s listed in the instruction manual. Check for any damage during shipping and separate the parts to make the assembly process easier. The box typically contains the body, legs, and battery compartment cover. Sometimes, there will be additional decorative elements.
Identifying the Parts
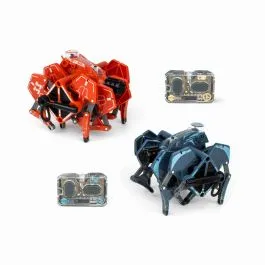
The Hexbug Tarantula comes with several key components that must be identified before assembly. This includes the main body, the legs (usually eight, designed in pairs), and the battery compartment. Often there is a switch to turn the device on and off. Knowing each part and its purpose will simplify the assembly process. Take a look at the instruction manual to familiarize yourself with each part’s name and function. This will streamline your build.
Step-by-Step Assembly Guide
Follow these simple steps to assemble your Hexbug Tarantula. Take your time, read the instructions carefully, and enjoy the process. The assembly is designed to be user-friendly, even for those who are new to robotics or toy assembly. The key is to be patient and follow the steps in the correct order to ensure the tarantula functions correctly.
Attaching the Legs
Carefully attach the legs to the body of the Hexbug Tarantula. The legs are typically designed to snap or click into place. Make sure each leg is securely attached, as this is crucial for the tarantula’s movement. Refer to the instruction manual for the correct orientation of each leg. Check to ensure that all the legs are firmly in place before continuing. The legs are usually attached in pairs on each side.
Connecting the Body
Once the legs are attached, double-check their position. Ensure the body components are properly aligned. Some models may require you to connect the body halves. Check all connections to make sure they fit properly. Make sure the battery compartment is accessible for the next step. Properly assembling the body is important for structural integrity and the overall appearance of the Hexbug Tarantula. It’s the core that holds the other pieces together.
Inserting the Battery
Open the battery compartment and insert the required batteries (usually button cell batteries). Make sure to follow the polarity indicated inside the compartment. Close the battery compartment securely. Incorrect battery placement will prevent the tarantula from operating. After closing the compartment, you are ready to test your Hexbug Tarantula. Remember to dispose of batteries properly.
Testing Your Hexbug Tarantula
Once the batteries are in place, turn on the Hexbug Tarantula using the power switch. Place the tarantula on a flat surface and observe its movements. If the tarantula does not move, check the battery connection and make sure the switch is in the correct position. The tarantula should be moving quickly, but if it is not, try switching it off and then back on. If it is moving correctly, then congratulations, you have successfully assembled your Hexbug Tarantula!
Troubleshooting Common Assembly Issues
Sometimes, despite your best efforts, you may encounter some issues during or after assembly. Here are some common problems and their solutions. It is important to remain calm and carefully review the instructions. Most issues are easily resolved. Following these tips will help you get your Hexbug Tarantula working smoothly.
Legs Won’t Stay Attached
If the legs are not staying attached, make sure they are fully clicked into place. Check for any obstructions or debris in the leg sockets. You might need to apply gentle pressure. Sometimes, the legs may become loose over time, so be ready to reattach them. If the problem persists, examine the leg and socket for any damage.
Tarantula Doesn’t Move
If the Hexbug Tarantula doesn’t move, first check the battery. Replace the batteries with fresh ones to see if this resolves the issue. Check the power switch to make sure it’s in the on position. Ensure that all the leg connections are secure. Examine the tarantula’s internal mechanisms, if accessible, for any obstructions. Consider consulting the instruction manual for additional troubleshooting tips.
Battery Compartment Issues
If the battery compartment cover doesn’t close properly, make sure it is correctly aligned. Ensure the batteries are correctly placed according to the polarity markings. If the cover still won’t close, check for any damage to the compartment or cover. In some instances, slight adjustments may be needed to ensure a secure fit. You may need to check the position of the battery contacts.
Tips for Optimal Hexbug Tarantula Performance
To get the most out of your Hexbug Tarantula, consider these tips. Proper care and maintenance will help ensure that your toy continues to function correctly and provides hours of fun. These suggestions will help you optimize the performance of your Hexbug Tarantula.
Choosing the Right Surface
The Hexbug Tarantula performs best on a smooth, flat surface such as a table, floor, or desk. Avoid surfaces with high friction, such as carpets, as this may hinder its movement. Ensure there are no obstacles to prevent the tarantula from moving freely. A clear, unobstructed surface will allow the tarantula to move unhindered. The surface should also be clean to avoid any debris affecting the tarantula’s performance.
Battery Life and Replacement
Battery life depends on the quality of the batteries and the frequency of use. Always replace batteries with the correct type and follow the battery disposal guidelines. When the Hexbug Tarantula starts to slow down, it is usually a sign that the batteries need replacing. Always store batteries properly, and avoid mixing old and new batteries. Using fresh batteries ensures optimum performance and fun for your Hexbug Tarantula.
Storing Your Hexbug Tarantula
When not in use, store your Hexbug Tarantula in a clean, dry place away from direct sunlight and extreme temperatures. Remove the batteries if you plan to store the toy for an extended period. This prevents potential battery leakage. Keep the Hexbug Tarantula away from water and other liquids. Proper storage will help prolong its lifespan and maintain its functionality, ensuring that it is always ready for your next play session.
Assembling your Hexbug Tarantula is a straightforward process that can be done with a little patience and care. By following these instructions, you’ll soon be enjoying the realistic movements of your robotic spider. Remember to troubleshoot any issues calmly. Now you’re ready to let your Hexbug Tarantula scuttle across the floor!